Feeding Discus: ARTIFICIAL REARING DISCUS by Cliff Young


Feeding Discus:
ARTIFICIAL REARING DISCUS
by Cliff Young
edited by Luigi Del Favero
Hello friends of Mondodiscus!

Soon we’ll know better this new breeder from S.Francisco that will open our American Breeders Section. Just to begin, thanking Mr.Joung for his kindness, We are going to present you the first complete guide for Artificial rearing discus.
A very interesting article that allow us to get more in confidence with this technique of breeding sill not so common in Italy.
Some of the aspects of this article, as for example the use of tap water from the beginning and the consideration about genetic or not genetic deformities of fry, give us new points of view and reflections.
Thanking again in name of all Mr. Young that, accepting with enthusiasm our invite has made available a new piece of finned culture, we don’t steal you other time and wish you a good reading!
ARTIFICIAL REARING DISCUS
I for one am never tried of seeing a pair of Discus with fry on their sides, even some of my best pairs would eat their fry from time to time. No knowing what to do may leave the hobbyist at a dead-end. One way to eliminate this problem is to artificial raise the fry.
I will give a general outline with details of what to expect and the procedures the hobbyist needs to do.
Day One
Mated or unmated pair spawns on cone. Remove spawning cone one hour after spawning or if the pair has already spawned remove cone when fanning eggs are notice. The spawning cone is place in an incubation/raising bowl the amount of water is
the around 1 gallon.
Primo piano del cono all’interno di una bacinella
The water use is 100 percent R/O water, ph is in the low 6’s. I add one to two drops of acriflavine, and a airline place on the opposite of the eggs on the spawning cone. The amount of air coming out of the airline would be 30 bubbles per min. or 1 bubble per 2 seconds. The incubation bowls are place inside of tanks, floating at a temperature of 80 to 82 degrees.
Day Two
If all the eggs are infertile remove the bowl(s) and clean up the spawning cone.
Day Three
Waterchange 100 percent in the incubation bowl to condition tap water one hour before hatching. The tap water in San Francisco usually has a ph of 8.2 to 8.9 with a hardness of 70 to 120ppm, this is the water I use for raising the fry. There should be no medication in the tap water at this time.
Day Four to Day Six
The hobbyist can see the development of the wigglers, very active wigglers would usually indicate a healthy batch of fry, where as the sluggish wigglers are usually weak. Also look for wiggling clusters they usually stronger then the single wigglers.
Day Seven – First Feeding Day
This is where the work begins, using the same bowl take out the spawning cone. Wait till all the fry are swimming on the surface of the water. Take out all dead, deform and unfertile eggs with a turkey baster. Lower the water level to 1 inch, wipe clean the sides. The food formulas consist of:

Bakers Egg Yolk Powder
APR (Artificial Plankton-Rotifer)
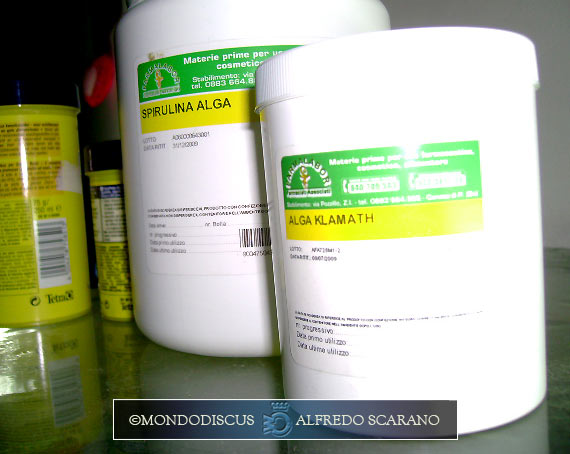
Spirulina Powder (food grade)
Metamucil

Le polveri

The amount of this yolk formula usually is about a small pinch or one drop of water. I would use my forefinger and take a drop of declorinate water and add a small amount of egg yolk powder and APR the ratio is about 50 percent yolk and 50 percent APR mix these two together using the forefinger and thumb then add the spirulina powder till the color is a yellowish green then the last addition will be the Metamucil which is one fifth of the formula. When adding the Metamucil the formula will become sticky and gel form very quickly. Paste the yolk formula about one inch below the bowls’ rim. Raise the water level back up till it just touches the yolk formula. The yolk formula will last up to 12 hours.


Second feeding
Remove the old water, clean the bowl and refresh with newly condition water, add fresh hatched baby brineshrimp, wait for 15 minutes, and now check if the fry are eating the bbs. If the fry are eating the bbs their bellies will be an orange color. If only some of the fry are eating the bbs go back to the egg yolk formula for another day.
A few hints, using a turkey baster to move the fry will result in deformities. Blowing fry off of the substrate with a strong water pressure of the turkey baster will result in bent heads and mouth area, also a too strong water current from a airline will show bent spinal and head area. There are already many genetic deformities that the hobbyist can see on the third to six day before starting the artificial method by knowing what to do the hobbyist can element some of the human made deformities.
Waterchanges should be at least 3 times a day, this is to prevent slow growthrate.
Best Wishes with Success! Cliff Young


©MondoDiscus.com. Absolutely the reproduction, also only partial is prohibited, of the illustrations, the text and the present photos in this article, without the consent of the author.